Take Your Learning to the Next Level! See More Content Like This On The New Version Of Perxeive.
Get Early Access And Exclusive Updates: Join the Waitlist Now!
Take Your Learning to the Next Level! See More Content Like This On The New Version Of Perxeive.
Get Early Access And Exclusive Updates: Join the Waitlist Now!

Video is the most important medium for online content. In developing the Perxeive app as a personalised education platform that has user generated multi-media content it was critical to provide users with tools to record and edit video content. In an earlier blog post I covered how we implemented user generated video recording and playback in Perxieve. I also posted a blog that gave users 10 simple tips to make their phone videos go viral on social media. So, the subject of video recording is close to my heart and helping users create great video content will help them get the most out of the Perxeive app.
In my life and career I have been fortunate to be involved in a number of different professional video recordings. These range from corporate videos in which I have appeared or which I have commissioned and been deeply involved in to television advertising recordings I have witnessed first hand in for businesses for which I have worked. This has given me not only personal experience but also the opportunity to discuss in depth with video professionals how they do what they do. I also have a personal passion for movies and as a member of the British Film Institute I have been able to listen to many of the film industries leading people discuss their craft.
In this short series of articles I attempt to bring all this together as a guide for those who are interested in video recording. In the first part we covered pre-production tips for successful video recording. In this second post we discuss setting up your equipment for optimal video quality.
I have been fortunate to work with some experts in video recording, and they always stress that understanding your camera's capabilities and limitations is crucial to producing high-quality videos that engage and captivate your audience. In this section, we'll delve into the key aspects of camera technology that can make or break your video recording experience.
When it comes to capturing stunning footage, sensor size plays a vital role. A larger sensor size allows for better low-light performance and shallower depth of field. This means that with a larger sensor, you'll be able to capture crisp and clear images even in dimly lit environments. Additionally, a larger sensor enables a shallower depth of field, allowing you to create a beautiful bokeh effect that separates your subject from the background.
When it comes to resolution, 4K (3840 x 2160 pixels) is the gold standard for optimal video quality. This high-resolution setting allows for incredibly detailed footage that will leave your audience in awe. However, depending on your application, 1080p can also be a suitable option. For instance, if you're recording a tutorial or a presentation, 1080p may be sufficient.
Frame rates are often overlooked, but they play a critical role in creating an immersive viewing experience. A frame rate of 60fps or higher is ideal for smooth motion, making it perfect for capturing fast-paced content such as sports or action scenes. On the other hand, 24-30fps is suitable for cinematic or documentary-style recordings, where a more relaxed pace is desired.
By understanding these fundamental aspects of your camera, you'll be well-equipped to unlock its full potential and take your video recording skills to the next level.
Having being able to learn from experienced video producers, I can attest that they all state that choosing the right lens is crucial in taking your video content to the next level. The type of lens you use can greatly impact the quality, aesthetic, and overall engagement of your video. In this section, we'll dive into the world of prime lenses, wide-aperture lenses, and image stabilization, exploring how each can elevate your video recording skills.
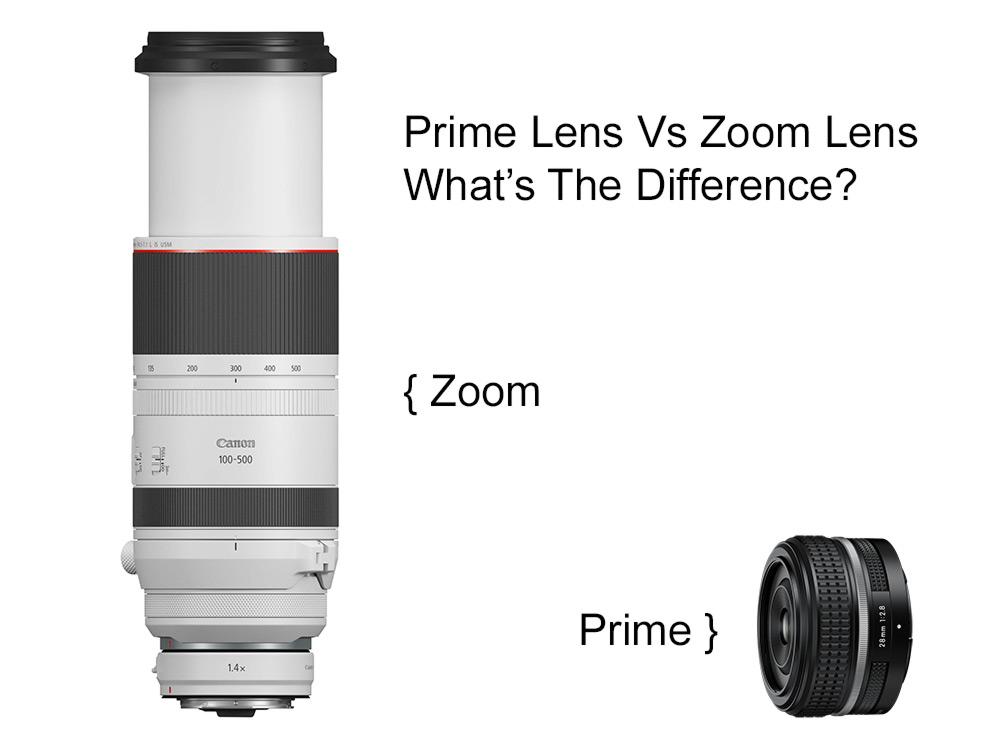
Prime lenses offer better image quality compared to zoom lenses, making them ideal for capturing high-definition videos. With a prime lens, you can expect exceptional sharpness, contrast, and color accuracy, resulting in a more professional-looking output. Moreover, prime lenses tend to have a shallower depth of field, allowing your subject to stand out from the background and creating a more visually appealing composition. If you're looking to create videos that exude quality and sophistication, investing in a prime lens is a worthwhile consideration.

For those seeking to add a touch of cinematic flair to their videos, wide-aperture lenses (f/1.4-f/2.8) are an excellent choice. These lenses permit more light to enter the camera, resulting in a shallower depth of field and a more dramatic, film-like appearance. The increased light also enables you to shoot in lower-light conditions, making them perfect for indoor or nighttime recordings. Wide-aperture lenses are particularly effective in creating a sense of intimacy and drawing the viewer's attention to your subject.
Image stabilization is an essential feature to look for in a lens, especially if you're planning to shoot handheld or in environments where camera movement is unavoidable. This technology helps reduce camera shake and blur, ensuring that your footage remains smooth and steady. When choosing a lens, opt for one with built-in image stabilization to guarantee that your videos are crisp and polished.
To learn more about optical image stabilization there is an excellent description on wikipedia that goes into detail and provides more detail on what various vendors offer.
By understanding the strengths of each type of lens, you can make informed decisions about which ones to invest in, ultimately taking your video recording skills to new heights.
When it comes to recording high-quality video, audio equipment plays a vital role in ensuring that your message is conveyed effectively to your audience. As an expert, I always emphasize the importance of investing in the right audio gear to elevate your video recording skills. In this section, we'll delve into the world of external microphones and explore how they can significantly enhance the overall sound quality of your videos.
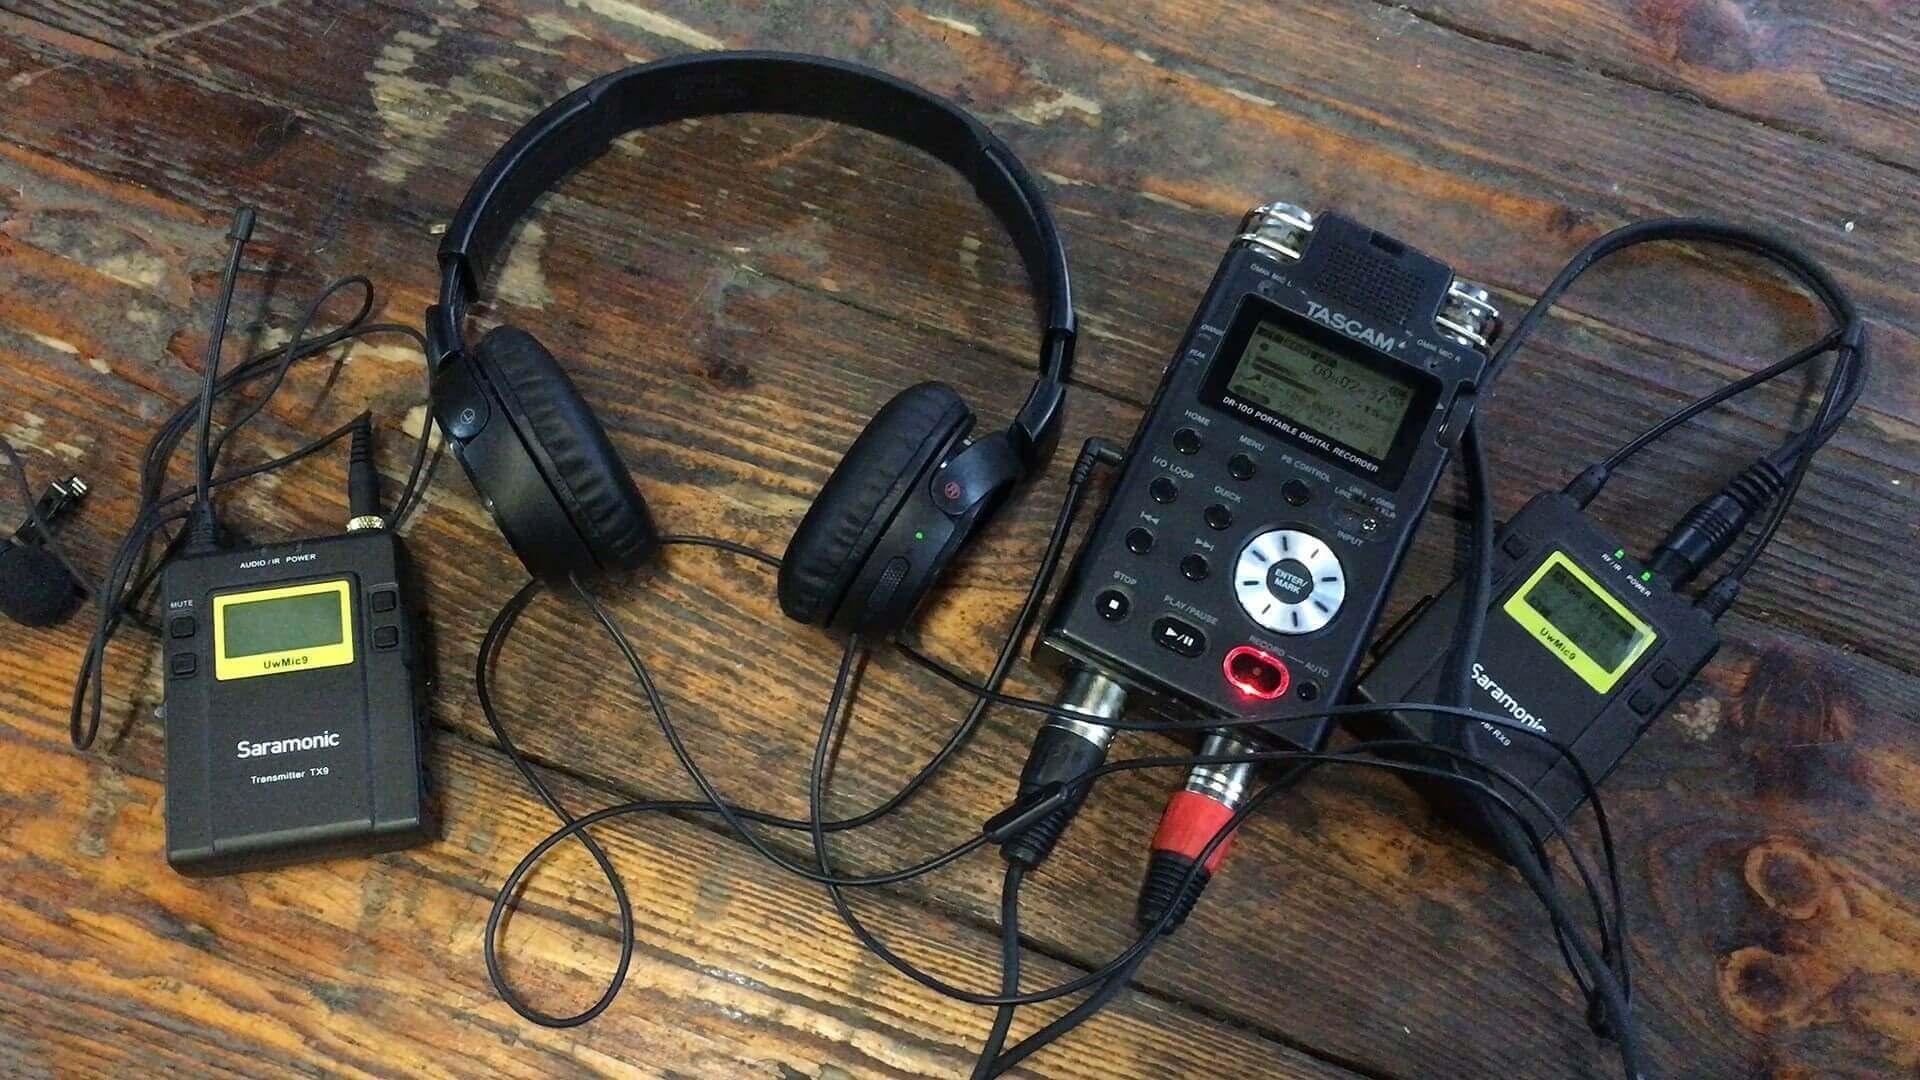
Unlike built-in camera microphones, which often pick up background noise and distortions, external microphones are designed to provide a more nuanced and accurate audio capture. For instance, Lavalier microphones are particularly suited for capturing clear audio from your subject, even in noisy environments where background chatter or ambient sounds may be prevalent. These microphones are perfect for interviews, presentations, or any situation where you need to isolate the speaker's voice.
For a more detailed description of Lavalier microphones there is an excellent post on the studiobinder blog.

On the other hand, boom poles and shotgun microphones are ideal for capturing high-quality audio from a distance. These microphones are typically used in film and television productions, but they can also be beneficial for recording videos in larger settings, such as conferences or seminars. Their ability to pick up sound from a farther distance while maintaining clarity makes them an essential tool in your audio equipment arsenal. By incorporating these microphones into your video recording setup, you'll be able to capture crisp and professional-sounding audio that will engage and captivate your audience.
Having personal experiences of discussing with video recording experts how they do what they do, they have frequently highlighted that lighting is one of the most critical elements in creating high-quality videos that captivate your audience. In this section, we'll dive into the essential aspects of lighting that will take your video recording skills to the next level.
Whenever possible, utilize natural light sources to achieve soft, flattering lighting. This can be as simple as positioning your subject near a window or taking advantage of outdoor settings during the golden hour (the hour just before sunset). Natural light has a way of making your subjects look more relaxed and comfortable on camera, which in turn helps to build a stronger connection with your audience. By leveraging natural light, you'll be able to create a warm and inviting atmosphere that draws viewers in.
However, not all settings can accommodate natural light, which is where artificial light sources come into play. LED panels, softbox lights, or sidelights are excellent options for creating desired lighting effects. These tools allow you to control the intensity and direction of the light, enabling you to craft a specific mood or atmosphere that aligns with your video's narrative.
To create visually appealing contrast, it's essential to balance key and fill lights. Key lights are used to highlight the subject's face or primary features, while fill lights soften the overall lighting and reduce harsh shadows. By striking a harmonious balance between these two lighting elements, you'll be able to add depth and dimensionality to your video. Here are some tips to keep in mind:
By incorporating these essential lighting elements into your video recording strategy, you'll be well on your way to crafting captivating videos that engage and inspire your audience.
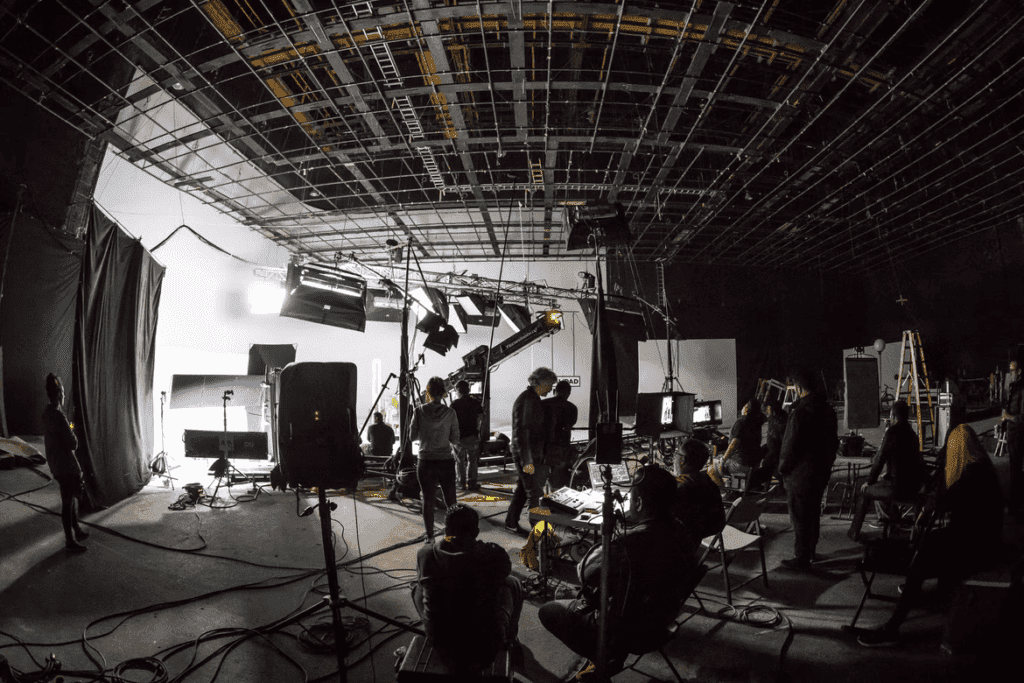
According to the video recording professionals I have worked with, setting up your studio is the first crucial step in taking your video recording skills to the next level. A well-equipped studio not only ensures high-quality visuals but also boosts your confidence and creativity. In this section, we'll dive into the essential elements you need to set up a professional-grade studio.
A plain-colored background or investing in a green screen is vital for easy chroma-keying. A busy or cluttered background can be distracting and take away from the main subject of your video. Plain colors provide a clean canvas, allowing your audience to focus on what matters most – the content. On the other hand, a green screen enables you to replace the background with any image or video, providing endless creative possibilities. When choosing a plain-colored background, opt for neutral shades that complement your brand's color scheme.

Tripods and stabilizers are essential tools in reducing camera shake and ensuring smooth panning. Unstable camera movements can give your viewers a headache, making it difficult for them to focus on the content. Invest in a sturdy tripod that can support your camera's weight, and consider adding a stabilizer for silky-smooth motion. Additionally, having monitors and playback devices allows for real-time monitoring and playback review. This setup enables you to catch any mistakes or issues immediately, ensuring you're producing high-quality videos that meet your standards.
By setting up your studio with these essential elements, you'll be well on your way to creating engaging, high-quality videos that captivate your audience. In the next section, we'll explore advanced tips and tricks for taking your video recording skills to new heights.
When it comes to capturing stunning video footage, understanding your camera settings is crucial. By talking to video recording experts and watching them work first-hand, I've learned that mastering these fundamental elements can make all the difference between mediocre and exceptional content. In this section, we'll dive into the essential camera settings that will elevate your video recording skills to the next level.
One of the most critical camera settings is ISO. As a general rule, I always aim to keep my ISO as low as possible – preferably 400 or below. Why? High ISO values can lead to noise and grain in your footage, which can be distracting and detrimental to the overall quality of your video. By keeping your ISO low, you'll ensure that your footage remains clean, crisp, and professional-looking.
Another vital camera setting is white balance. This feature ensures that your camera accurately captures the colors of your scene. To get it right, set your white balance according to your lighting environment. For instance, if you're shooting indoors with fluorescent lights, select the corresponding white balance preset. If you're outdoors on a sunny day, choose the daylight or shade setting. By doing so, you'll achieve authentic and vibrant colors that will engage your audience.
Finally, let's talk about focus modes. Depending on the situation, I have seen experts switch between continuous autofocus, manual focus, or single-shot autofocus. Continuous autofocus is perfect for dynamic scenes where subjects are moving, such as during an interview or when capturing a presentation. Manual focus comes in handy when you need precise control over your focal point, like when shooting a product demo or a close-up shot. Single-shot autofocus is ideal for static scenes where the subject remains stationary, such as when filming a lecture or a tutorial.
By grasping these fundamental camera settings, you'll be well on your way to producing high-quality videos that captivate and engage your audience. Remember, mastering these basics will give you the creative freedom to focus on what really matters – telling compelling stories through video.
In the next section we continue our journey to master video recoding by covering recording techniques for engaging videos.